Automated Filling System: Fill any beverage into any bottle, can, jar, or glass automatically with this internet-connected, RAPT-enabled Cannular Can and Bottle Filler, offering a more sanitary and user-friendly experience than competitors.
Integrated Pinch Valve and Regulator: The pinch valve allows easy removal of the beer line for cleaning, while the integrated regulator eliminates the need for an external regulator, preventing damage from high-pressure gas sources.
OLED Digital Display and WiFi Connectivity: The OLED display simplifies calibration and allows real-time adjustments, while WiFi connectivity to the RAPT.io portal logs usage data and enables remote management of settings and profiles.
Versatile and Multi-Purpose: With adjustable stainless steel tubes and a height range suitable for bottles up to 11.8" and cans up to 10.6", this filler can handle still or carbonated beverages, making it ideal for various containers including wine bottles, beer cans, and more.
Low Dissolved Oxygen (DO) Pickup: The filler effectively purges oxygen from the container, ensuring substantially lower dissolved oxygen levels, which enhances the quality and longevity of your beverage.
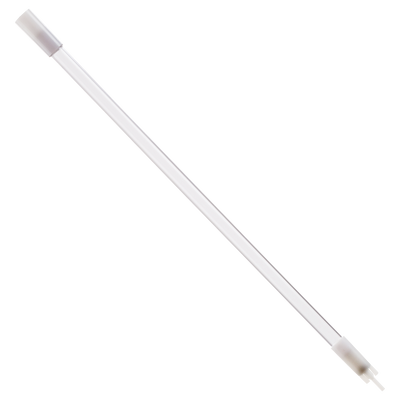
Fill any beverage into any bottle, can, jar, or glass automatically with this internet-connected, RAPT-enabled, Cannular Can and Bottle Filler. Featuring two adjustable stainless steel tubes, the Cannular Filler will use one to purge oxygen out of the vessel and then use the second one to fill the vessel to a precise level based on an internal pressure sensor.
OLED Digital Display
The OLED display makes calibration super easy. It also enables you to keep track of filling speed, number of cycles/fills, purge time, fill height, and also enables you to make on-the-fly adjustments to your filling requirements so you can conveniently tweak the settings while filling.
Integrated Ball Lock Connectors
The integrated ball lock connectors allow you to quickly attach your beer and gas ball lock disconnects. We recommend the use of the Duotight Ball Lock Quick Disconnects in Gas and Liquid to connect to these inputs and outputs.
Integrated Pinch Valve
The integrated pinch valve is one of the things that makes this unit far superior to other filling machines. The pinch valve enables you to easily remove the beer line for cleaning so the stainless tube, silicone hose, and yellow ball lock cap removes completely and can be put into the dishwasher or cleaned in the sink. The pinch valve is mechanically simple and therefore reliable. It is not subject to small particles like hops getting stuck in the device and eliminates the need for pre-filtration. It simply pinches down on the silicone tube to shut off the flow. This design also enables laminar flow that reduces foaming. The pinch valve improves reliability, makes it easier to operate, and a piece of cake to clean.
Integrated Regulator
Other filling machines require an external regulator that may need to drop the pressure lower than your normal keg dispensing pressure. Unlike these other fillers, this filler has an integrated regulator which saves time and setup costs. This integrated regulator means you will not damage your machine by accidentally connecting it to a high-pressure gas source. You can hook up your gas line without the need for another external regulator or to fool around with your gas supply at all. Just set the integrated regulator once during setup and forget about it.
Multi-Purpose
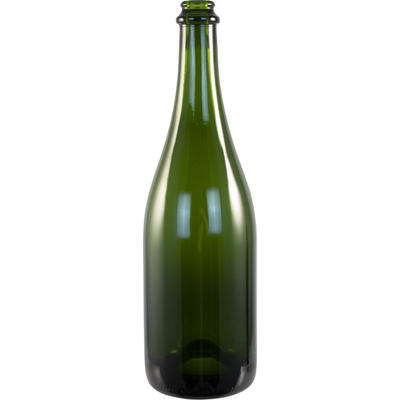
The long stainless tubes and adjustable height make this device useful for pretty much any bottles up to 11.8" (30cm) high or cans up to 10.6" (27cm) high. It can also be used for still or carbonated beverages, so this device is useful for wine bottles, beer cans, champagne, crown seal bottles, and pretty much any other bottle/can/vessel that has a neck opening greater than 0.59" (15mm). It can also be used for filling glasses, jars, or other vessels.
Fill Profiles
Some other machines require a full calibration to change from one vessel type to another. This machine allows you to pre-save fill profiles depending on what you are doing. Save a filling profile for your 12 oz cans and then save a different filling profile for your 750mL wine bottles. Use our pre-saved presets or alternatively make your own fill profiles with different purge times and fill height. These are also synced with the RAPT.io portal so you can save profiles and share them with friends or deploy them to several other devices.
RAPT.io Connected (via WiFi)
As well as all the features above, this filler connects to your WiFi and keeps track of your Cans Per Minute (CPM), fill speed, and even temperature (if you purchase the external Instant Read Temperature Probe separately). It will log all usage information so you can keep track of how your machine is running or even keep track of your staff to make sure they are cycling the machine at an acceptable rate. The connectivity to the RAPT.io portal will enable you to more easily change settings, update profiles, and keep track of your fill days so you can historically keep track of how your fill day went and which day you processed each batch.
Low DO Pickup
The quality and longevity of your beverage are often defined by how well you keep oxygen off your product. This filler purges the oxygen out of the can and will enable you to get substantially lower dissolved oxygen.
Wall Mounted Design
This type of can and bottle filler has primarily been designed for wall-mounting configuration. This allows you to bring a can or bottle up to the filler from the underside of the unit. To wall mount this unit you can download and print this template.
24V DC Power Supply
KegLand Part Number: KL37785
RAPT Can Filler User Guide
Read more less