Belgian Ales are not only diverse stylistically within themselves they are unique in the beer world due to their yeast driven esters and phenols. We have a large selection of Belgian Beer Kits to choose from such as the classic Saison, Belgian Pale or something bigger like a Dubbel or Tripel we even have Belgian Sours.
A longtime customer of ours and local homrbrew club member sent over this piece he wrote about brewing his first Saison using our Belgian Saison All Grain Kit. ~MoreBeer!
By Mark “Ciderman” Johnson
I have been home brewing since 1998, some years brewing more than others, and a member of DOZE since 1999, I think. This the first time I have brewed a Saison.
So I wanted to know what makes a Saison a Saison. I searched Home Brew Talk forums and read a lot of different articles. I discovered some of the problems associated with the different yeast and how the ferment was done. I discovered that using an airlock might not always be necessary to end up with a really good beer.
Finally I stumbled on an article in Craft Beer & Brewing magazine from October 1, 2015 by Emily Hutto titled “What makes a Saison, a Saison?”, and I decided I had gone far enough. In my opinion, her article did NOT answer the question. For me, the answer is that one must use a yeast strain that will provide complex flavors and the hops must be aromatic and be noticeable above the malt flavors. The fact that it is a style developed on local farms in Belgium is the distinction that sets a Saison apart from other styles. All the above is known by anyone who has ever brewed a Saison. Being on a farm, the brewer would add anything he/she wanted to make their version stand out from their neighbors. Heck, they might be able to hire better farm hands if they brewed a better ale than their neighbors.
I have recently moved from my house in Walnut Creek, to Kelseyville, in Lake County, way out in the country. After about two weeks of sorting and arranging, figuring out electricity and water, I have my 50L Braumeister with 25L Malt Pipe system organized so I can attempt a brew day.

Since this is an all-grain recipe, I needed to determine the proper adjustment to my Barley Crusher malt mill. It turns out Braumeister recommends a 1.6mm (0.063”) gap. I decided to use Braumeister setting for this brew. I will be using my variable speed ½” drill to power the mill for the crush.
The Braumeister comes with a standard recipe that has a step mash process built in. The More Beer directions indicate only a single mash step is required. To make it simple, I came up with the following Mash schedule. Using 5.25 gallons of pH 5.2 water, (Based on 1.25 Quarts H2O per pound of grains), dough in at 148F (64C). Then mash at 148F (64C) for 90 minutes. Then do a simple rinse sparge with 2 Gallons of pH 5.2 water at 169F (69C) and let drain until barely dripping, 15 minutes or so according to the Braumeister directions. Start the boil phase while this is happening. Move the Malt Pipe out of the way of the kettle onto a drip tray after draining. Allow for a 90 minute Boil according to the Saison Recipes I checked. Add hops at 80 minutes, 20 minutes, and 1 minute, add Whirfloc at 5 minutes.
That was the plan. Things did not go according to plan. Also it is a good thing I have been paying attention to the Low Oxygen Brewing instructions for Braumeister.
Due to the large grain bill in this More Beer Recipe kit, I ran into some problems with the mash in my Braumeister setup.
The first thing that did not work out is the amount of mash water. 5.25 Gallons is 20 liters, so I increased it to 23 liters, based on the Braumeister Saison Recipe. (At this point all the pH adjustments were no longer accurate.) I have rigged a 2 to 1 pulley system for managing the Braumeister Malt pipes.
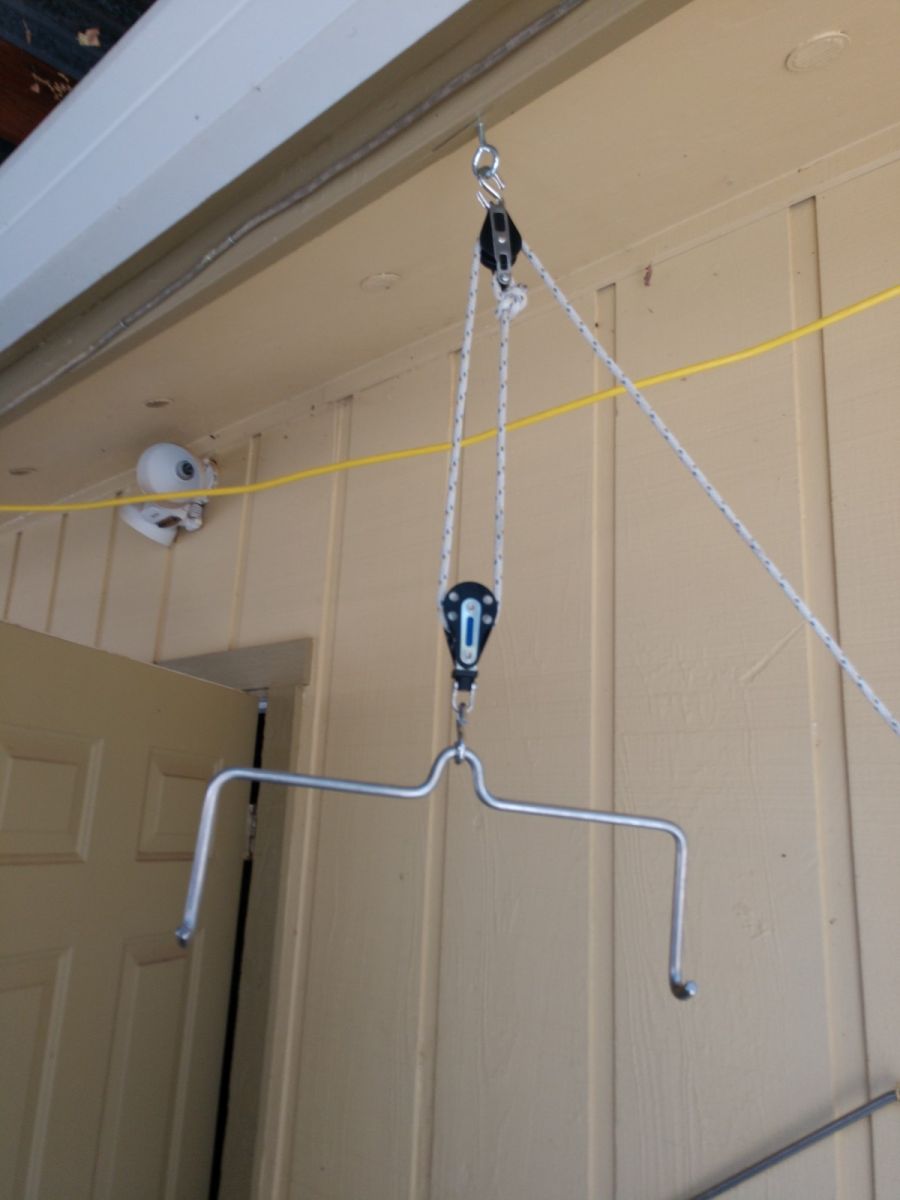
The Braumeister indicated the water was to temperature.
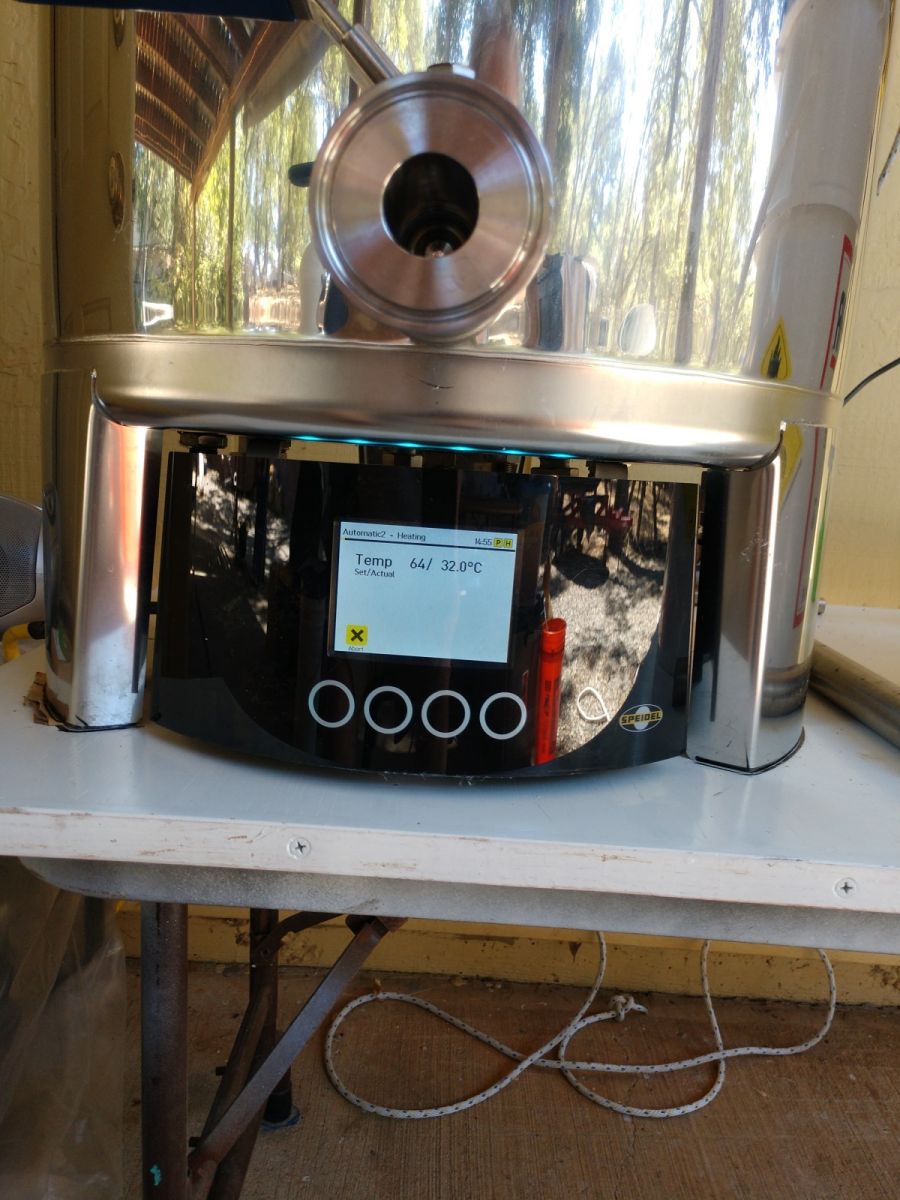
So I positioned the Malt pipe above the heated water with the bottom screen already down the central rod. I added the 16.5 pounds of grain, but it was too much. I removed about 2.5 pounds of wet grain and froze it. Then I could continue with mashing.
I then restarted the brew program at the 90 minute mashing step. The Braumeister brought the temperature back up to 64C in about 5 minutes while overflowing the malt pipe.
At the end of the mash step, I used my pulley to raise the Malt pipe up above the wort. Then removed the top screens. I then ladled the 2 gallons of 169F water from my Hot Liquor Soup Pot all over the grain bed, paying special attention to the edges. That was the sparge. After the malt pipe finished draining, I placed it on a storage bin lid and put it off to the side.
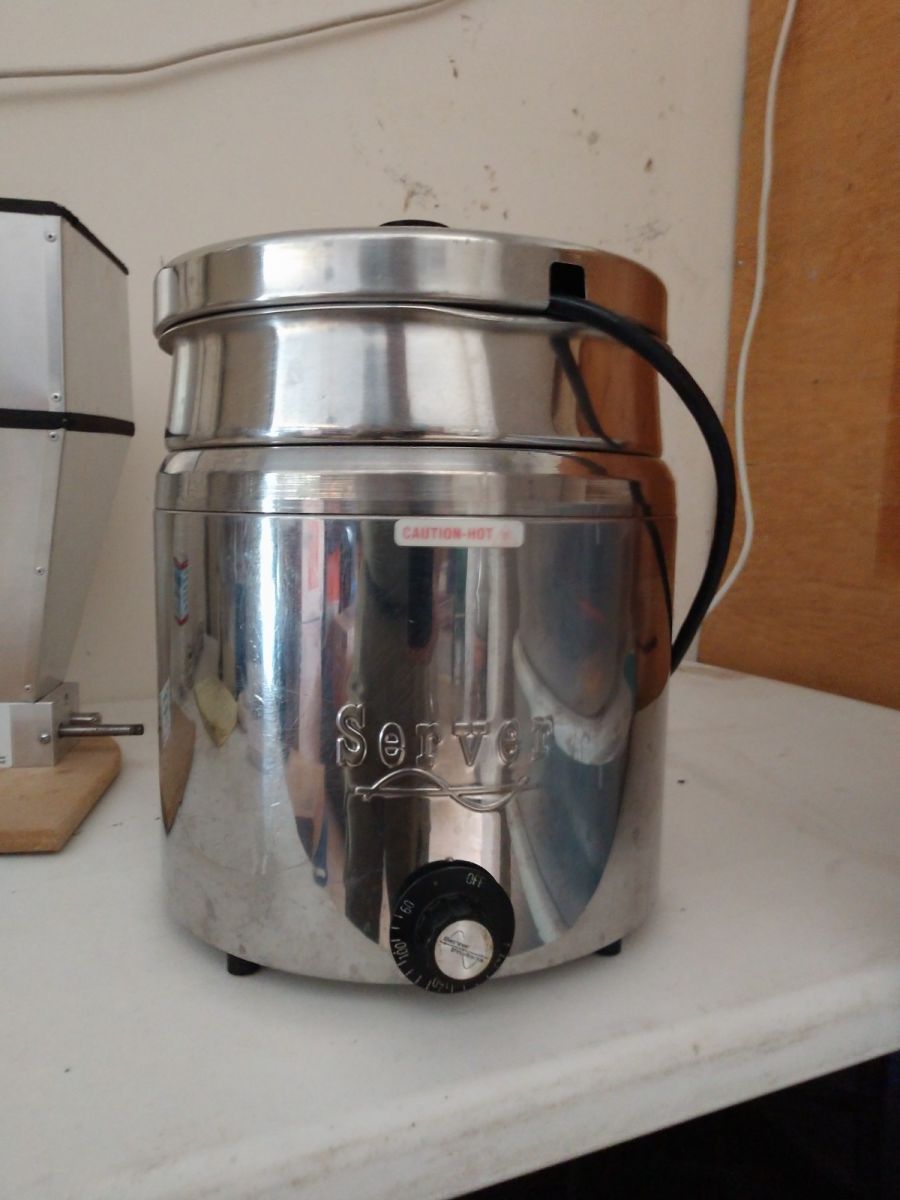
The boil step had begun while doing the sparge. I had 29 liters of wort before the boil at a specific gravity of only 1.030. I know this is too low. The reasons are I had to remove over 2 pounds of grain, I could not do a good stirring of the grain into the water. Then I believe the recommendation by Braumeister to grind the grain so coarse, at 1.6ml setting, really reduced the efficient of the mash step. Maybe also using the 151F (66C) temperature in the recipe would have released more sugars.
So I had 8ounces of priming sugar and I added it to the wort at the boil stage.
I made the hop addition at 80 minutes. I had some Saaz hops on hand, so I used 2 ounces instead of 1.5 as per the recipe. (Why? I am at about 1300 feet elevation. Hop utilization is less because water boils at a lower temperature. Here utilization is about 5% less. Also my hops were old and I like hops.)
I missed the 20 minute hop addition. I also missed adding the Whirfloc. Going back to the Braumeister after dinner, I saw the add hops signal and I think it is the 20 minute add. I put in the 1 ounce addition, again over the recipe. But it is really the 1 minute add. And after a minute the Braumeister shuts of the heat.
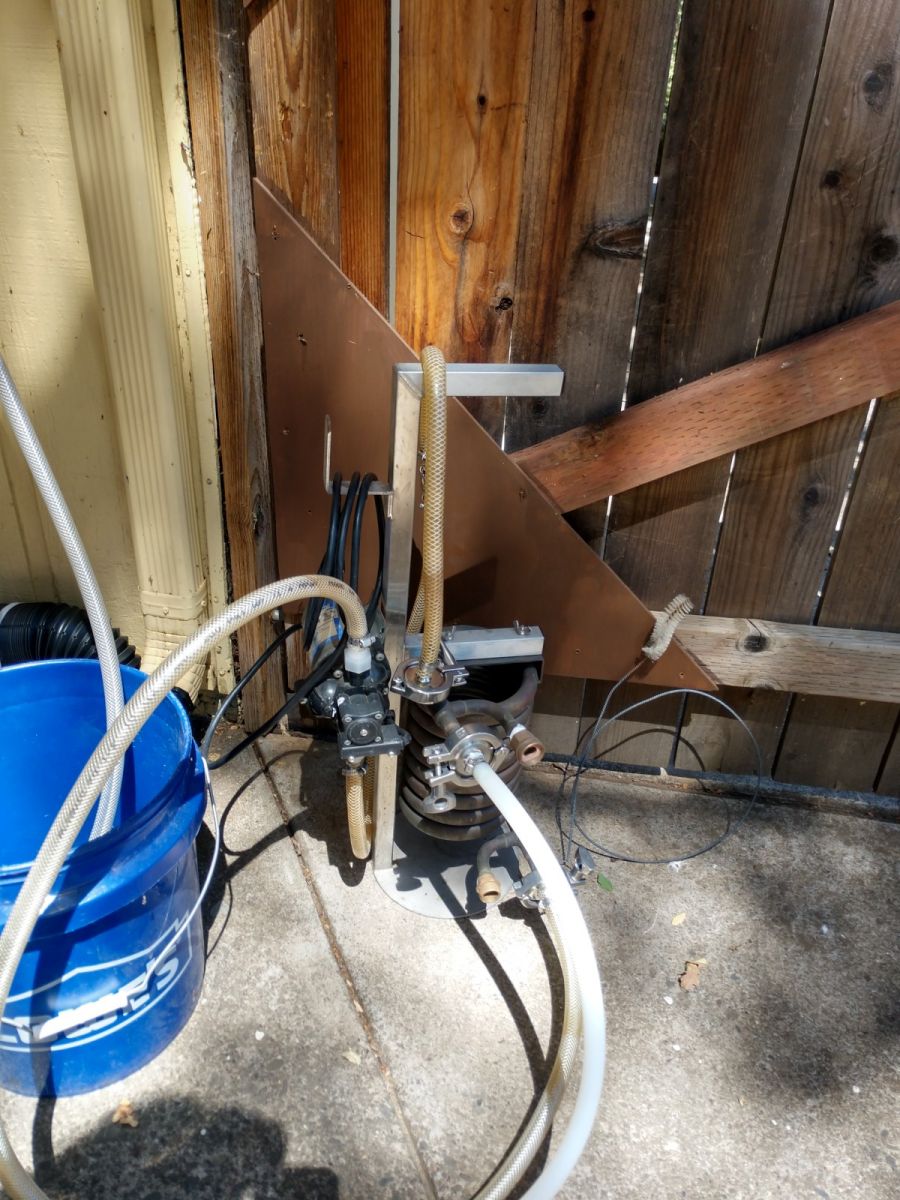
I went to the whirlpool and cooling cycle. Cooling was accomplished with my More Beer Pro19 Counter flow chiller. I could only get the temperature down to 76F, as that was the temperature of the cooling water. I pumped the wort into the More Beer Conical through the bottom dump valve. I sealed off the conical and inserted the temperature prob. I ran the conical cooling cycle set at 68F for an hour and I could not get the temperature below 75F. My hydrometer reading came in at 1.046 for the OG. Should have been 1.080 to 1.084 per the recipe. I estimate I have about 6 gallons of wort in the Fermenter.
I made a 2 liter, 1.040 gravity starter using Wyeast 3724 Belgian Saison yeast the afternoon before brew day. At 11:00 PM, brew night, I pitched the yeast. I waited 10 minutes and then Oxygenated for 1 minute using the BernzOmatic system through the top of the 7.5 gallon More Beer temperature controlled conical fermenter. I hooked up the blow off tube and reinserted the temperature probe. That was it for my brew day.
I closed off the fermenter except for the blow off tube for the first 2 days of fermentation. Then I removed the blow off tube and covered the opening with a fine mesh hop bag, allowing the fermentation to occur with no restriction. This was done due to the tendency of Saisons to sometimes develop a stuck fermentation approximately 3/4s of the way to completion.
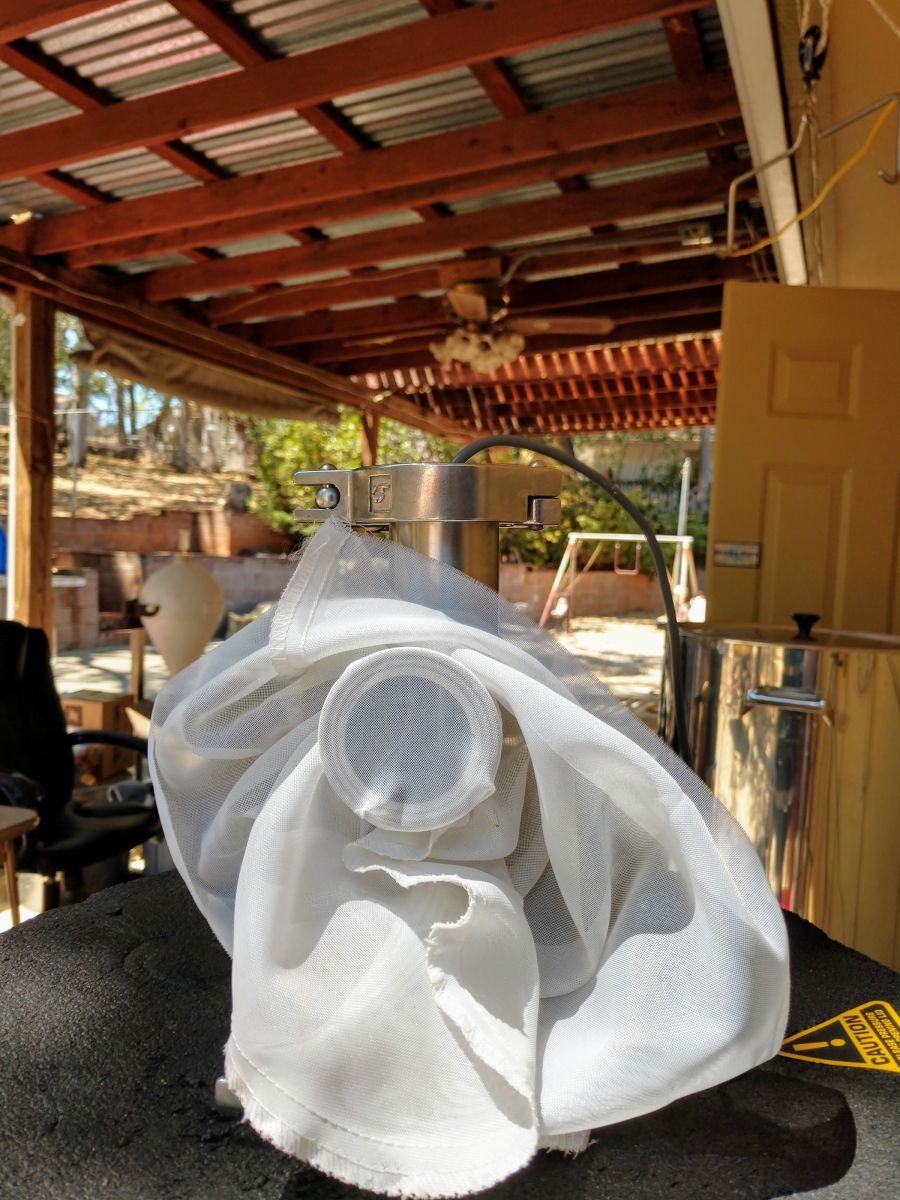
I have adjusted the cooling and heating settings by 2 degrees each day since pitching yeast July 4th. I settled for setting the temperature to 85 F. I just allowed the fermentation to occur at ambient temperatures, going down to 75F at night and back up to 85F during the day for two weeks. Gravity dropped to 1.014. Recipe called for 1.004 to 1.008. Additional reading about the yeast said to let it go for four weeks. I emptied the Saison into a 5 gallon Corny keg. (It was very, very cloudy) I brought it into the garage and let it continue to ferment with the pressure release valve open for two more weeks. The FG dropped to 1.008.
I then filtered it with my cartridge filter into another sanitized keg. It was still very cloudy. I added Silafine to the keg, swirled it around vigorously and waited another week. It was still cloudy, so I filtered it with my plate filter with the course filter pads, using four psi CO2 to move the beer from one keg to another. Now it was clear so I put the keg in the converted freezer and connected the carbonation.
Yesterday I took it to the local Homebrew club meeting. The opinion of the tasters was it had a great color, it was very clear and they liked the taste.