By Jack Horzempa
When bottling homebrewed beer via the bottle conditioning process there are two main issues which can result in bottles that are under-carbonated: insufficient amount of priming sugar or tired yeast which was unable to complete the bottle conditioning process. This article will address the latter issue.
“You may ask yourself, well, how did I get here?” (Courtesy of the Talking Heads)
I have brewed three 5 gallon batches of Quadrupel (Quad) so far with a summary of the statistics of each batch provided in the table below:
|
Batch Number |
Brew Date |
Original Gravity |
Final Gravity |
ABV (estimated) |
Amount of priming sugar* (oz.) |
Primary Yeast Strain |
Yeast added at bottling? |
|
First batch |
4/19/13 |
1.084 |
1.010 |
10.4% |
3.90 |
Wyeast 3787 |
US-05 (1 pkg.) |
|
Second batch |
5/26/17 |
1.089 |
1.009 |
11.1% |
3.90 |
Wyeast 3787 |
No |
|
Third batch |
6/27/21 |
1.087 |
1.013 |
10.4% |
3.90 |
Wyeast 3787 |
No |
* Table sugar (sucrose)
All three batches were brewed similarly with the one process difference being that for the first batch I decided to add a sachet of dry yeast (US-05) to the bottling bucket. I rehydrated the dry yeast and placed it on the bottom of the bottling bucket and siphoned the beer on top. I also added the priming sugar as well during the early stages of the siphon transfer.
The first batch I brewed in 2013 was my first beer of such a high gravity and I was unsure whether the yeast used for primary fermentation (Wyeast 3787) would be in good enough shape after fermenting such a high gravity beer to complete the bottle conditioning process. I started a thread on a homebrewing message board asking folks for input and some responded that adding yeast during bottling was unnecessary and others suggested that adding a portion of dry yeast would be good insurance to ensure proper carbonation would result. I decided to add the yeast and I made the conservative decision to use the entire contents of the US-05 sachet (i.e., 11 grams). That first batch of Quad turned out very good with all of the bottles properly carbonated.
For the second batch of 2017 I wish I could claim that with forethought I decided to just ‘experiment’ and see if the primary yeast was capable of properly bottle conditioning the beer after primary fermentation but the truth is I simply forgot to purchase a sachet of US-05. I just bottled per my usual method of just adding priming sugar. It wasn’t until I completed bottling and checking/comparing the Final Gravity reading with my prior batch (review of my logbook) that I had an “uh-oh” moment. I was frankly a bit concerned but as this point ‘the damage was done’ and I just hoped for the best. To my relief that batch carbonated just fine and I figured I learned something: adding additional yeast at bottling was unnecessary for producing my Quad beers. But not so fast….
For the third batch of this year (2021) I decided to not add yeast at bottling since I am now ‘educated’ and I know this is not needed. After permitting five weeks of bottle conditioning at warm (> 70 °F) temperatures I figured I would take out the first bottle for ‘a road test’. As I pried off the cap I heard a tiny bit of a pfft but it was barely audible so I was concerned. I then aggressively poured the beer down the middle of my Tripel Karmeliet chalice glass and there was just a tiny line of head. I drank the beer which was quite tasty despite the insufficient level of carbonation. Hmm, what to do? My first thought was that the yeast in the bottles needed to be roused in order to complete the job. Over the next two weeks, on a daily basis, I would take each bottle out of the case, turn them upside down and vigorously shake them like I was the maraca player in a Mariachi band. Well, it was a good try but those beers were still under-carbonated after two weeks of ‘playing music’. Time for plan B: should I add more yeast directly to the bottles? Why not!?!
I have never added yeast to bottled beer before so this was new ground for me. The questions I had early on in my strategizing process:
Lucky for me I have a great resource in the folks at MoreBeer, in particular Vito Delucchi. With the questions listed above, a first draft of a baseline plan, and collaborative thinking we formulated a well thought out plan B:
Below are the specific steps I took to execute the battle plan accompanied with some photos.
I personally choose to use isopropyl alcohol to sanitize my scissors which I will use to cut open the yeast sachets (see photo below) with a contact time of 20 minutes. The scissors could alternatively be sanitized using Star San (or similar product).

It is also important to sanitize the liquid medicine syringe dispenser which I personally did by soaking it in a weak bleach (Clorox) solution and the new bottle caps which I did by boiling them.
I used a large (1 liter/quart) Pyrex measuring cup to measure out the 200 ml of carbon filtered tap water and I brought the water to boil in my microwave. After removing the boiling water from the microwave, I placed it on a trivet upon the kitchen island, placed a digital thermometer within the boiling water to monitor the cooling of the water and then placed plastic wrap on top to keep dust (bacteria) from settling into the cooling water. Below is a photo a few minutes later (when the temperature was about 186 °F):

It will take a few minutes but eventually the pre-boiled water will cool down to the needed temperature (i.e., 104 °F) for the yeast rehydration temperature.
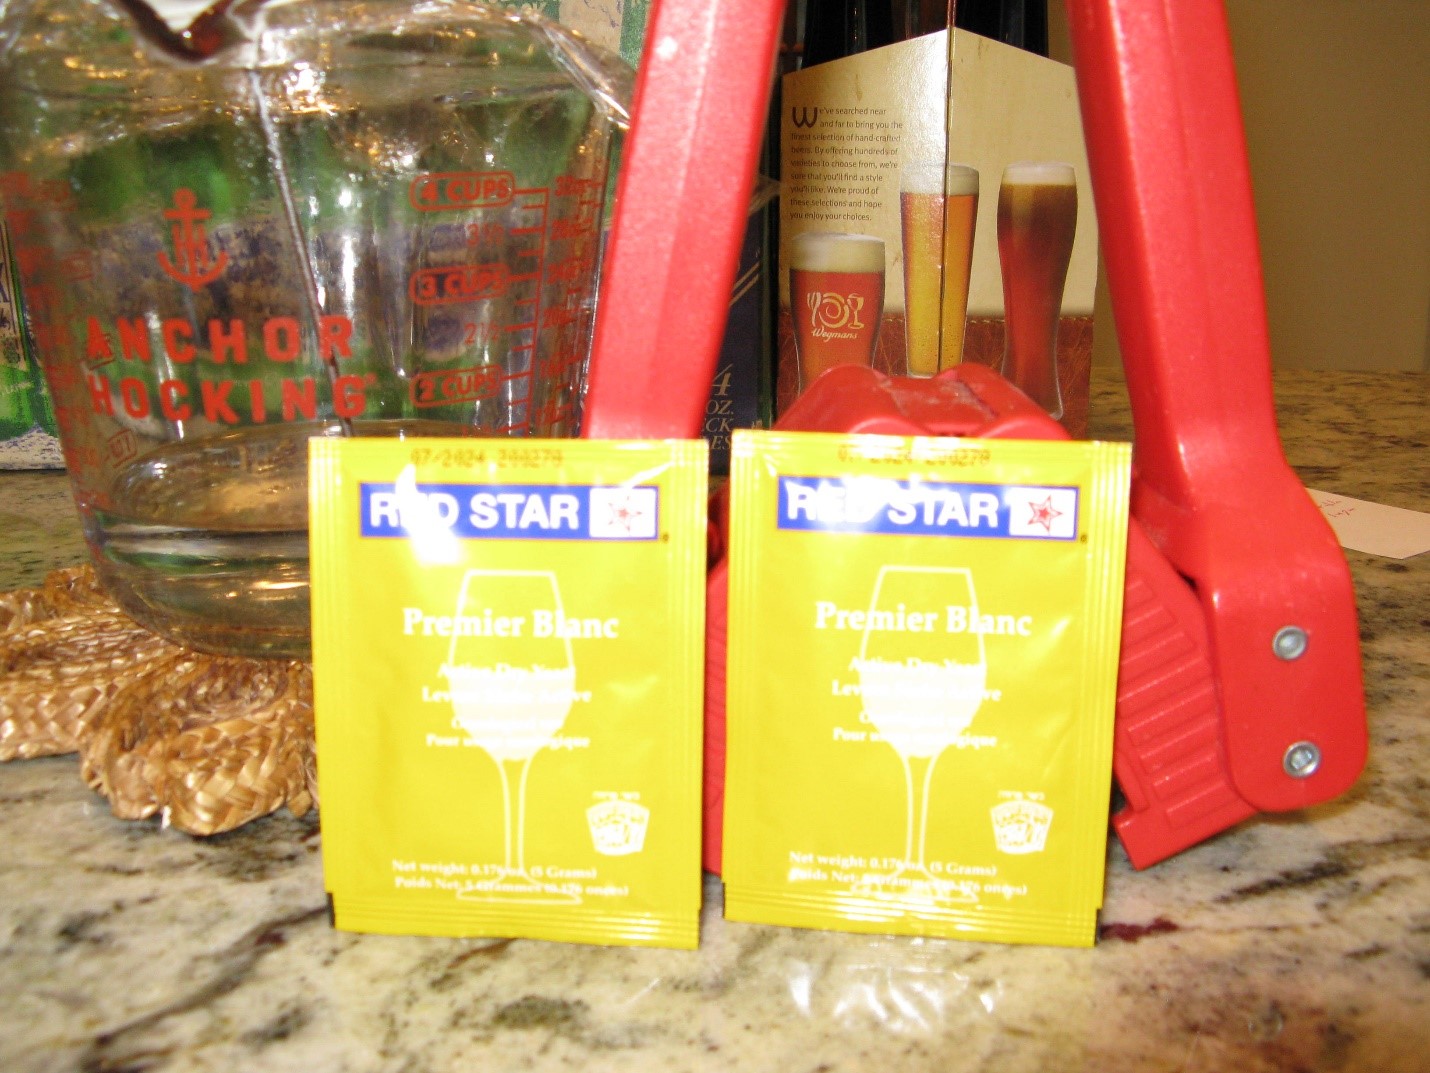
Below are photos of the two sachets of wine yeast that I used and the thermometer reading indicating we have reached 104 °F.

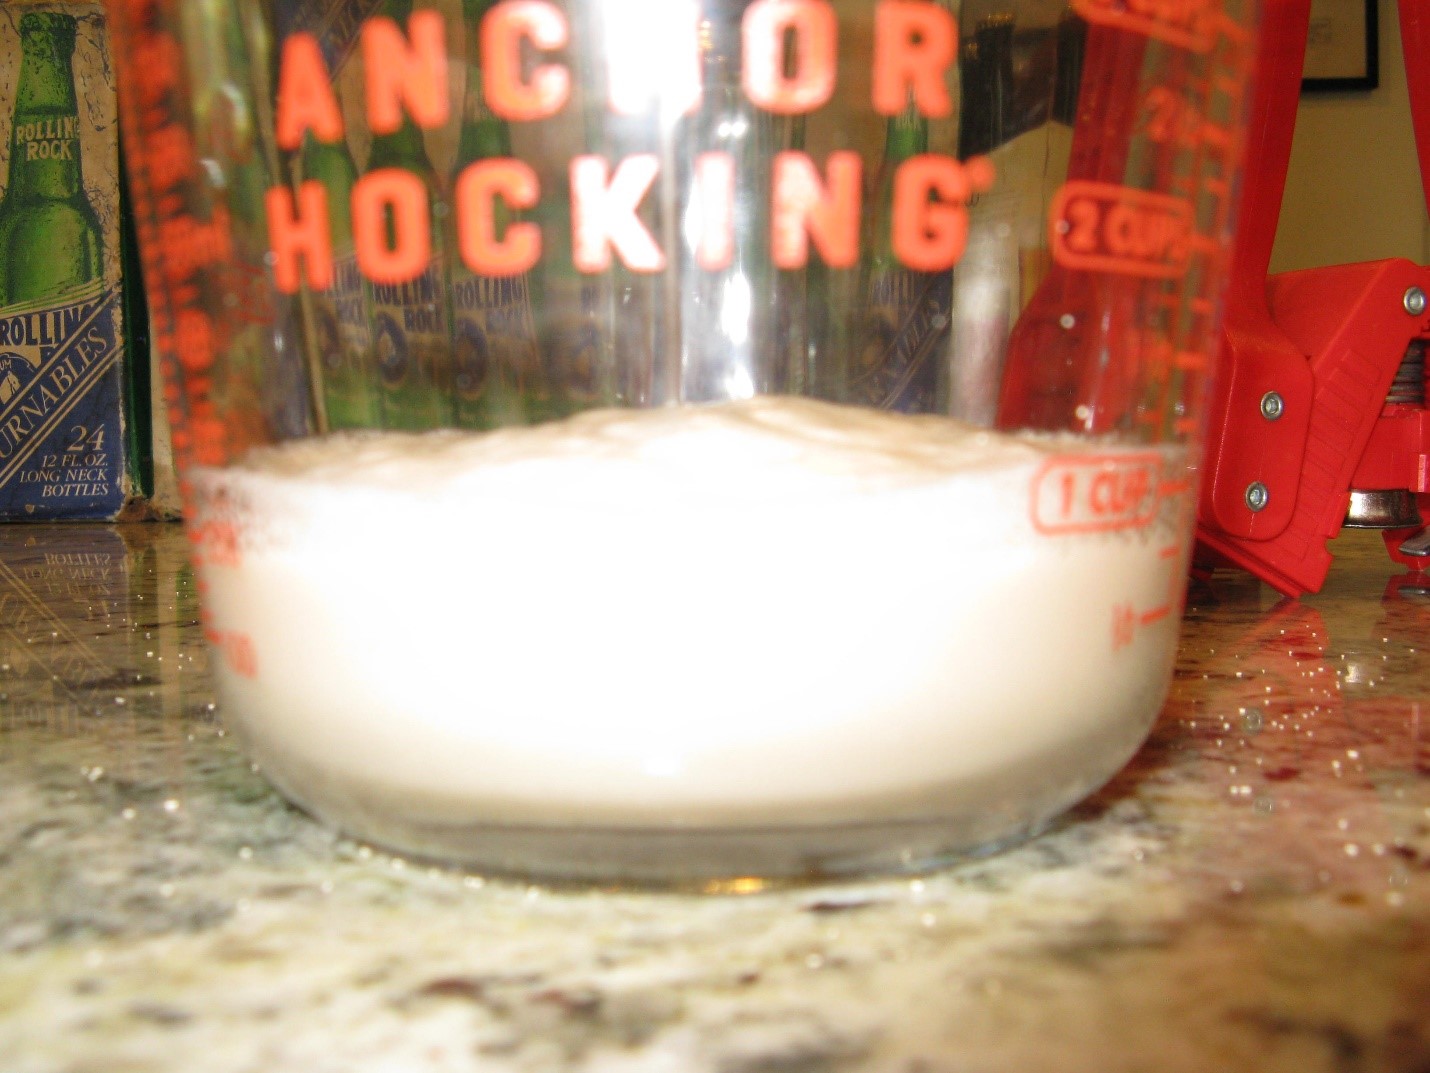
Cut open the sachets of yeast and gently sprinkle them on top of the warm water. Just let them sit there for 15-20 minutes; you will notice the dry yeast slowly get hydrated and some will settle to the bottom. After 15 – 20 minutes very gently stir the yeast to encourage whatever amount is still floating on top of the water to get completely in contact with the water. Below is a photo of what the rehydration looks like after 15 – 20 minutes:

After stirring the yeast into the water also add 1 teaspoon of table sugar and continue stirring. Let the rehydrated yeast with added sugar sit for another 5 minutes. You will notice that the mixture has a foamy appearance (see photo below) and the yeast is now in proper condition to add to the bottled of beer.
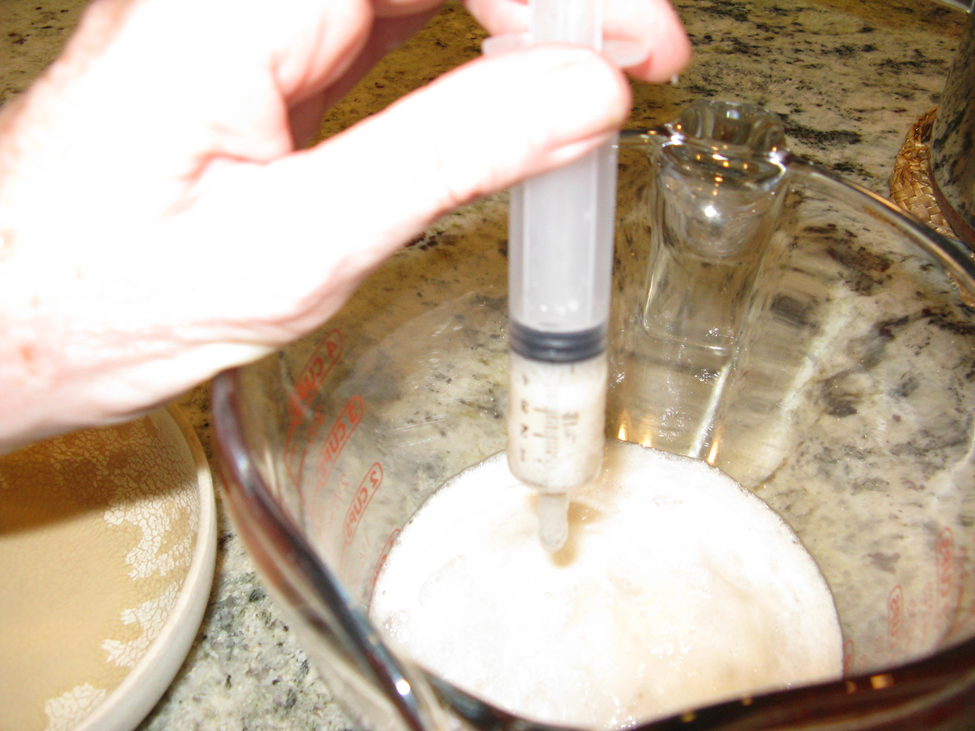
This is now a step in which it would be useful to have a partner to help you. My personal goal was to minimize the time that the bottle was open to mitigate exposure of the beer to air (oxygen) and also to mitigate loss of carbonation (carbon dioxide). I was very fortunate that my lovely wife was willing to help me here. In a production line mode, my wife would extract 2-3 ml of rehydrated/proofed yeast using the previously sanitized liquid medicine syringe dispenser, I would pry off the bottle cap, she would gently shoot the yeast into the bottle and I would quickly place a new cap on the bottle and crimp. The amount of time from prying off the cap to introducing the yeast to re-capping was a few seconds per bottle. Below is a photo showing the yeast within the syringe:
I gave the re-yeasted beer a little over two weeks to re-bottle condition before trying out my first bottle and to my great pleasure I heard a notable pfft as I pried off the cap and with a vigorous pour a very noticeable head formed on the poured beer. And with a proper carbonation level the beer was even more tasty! I decided to re-name this batch: Ode to Joy!

All contents copyright 2024 by MoreFlavor Inc. All rights reserved. No part of this document or the related files may be reproduced or transmitted in any form, by any means (electronic, photocopying, recording, or otherwise) without the prior written permission of the publisher.


.png)
.png)
(1).png)
.png)

